How to Assemble Inline Skates
Whether you have ordered one of the many specialty inline skate packages that come un-assembled from the manufacturer or customized your setup by purchasing your components separately, you will need to get all the parts put together before you can skate! Before you jump into the assembly, we recommend you try on the boots to make sure they are the correct size and heat mold them if necessary.
Once you are ready, you can have your skates assembled and customized for your stride by following these three easy steps.
Required Items:
- Boots
- Frames
- Wheels
- Bearings
- Bearing Spacers
- Axles
- Basic 4mm Allen Tool or M7 Torx Tool
Recommended:
- Thread Locker
- Aftermarket Skate Tool
Instructions
Step 1 – Mounting The Frames

Gather your boots, frames and frame mounting bolts. If you have thread locker, you'll want that handy too.
Start by lining up your frames to your boots. The mounting points should line up perfectly and the heel of the boot should sit slightly higher than the front. In most cases, the graphics on the frame will be on the outside of the frame but it's not a steadfast rule as some frames have no printing, some have printing on both sides and track frames often have the printing on the right side of both frames.
Once you have everything lined up, attach the frame by fastening one mounting bolt at a time. If you have thread locker, apply it to each mounting bolt immediately before installing them. Fasten each bolt to where they are tight enough to hold the frame to the boot but you can still adjust the frame side to side with slight force.
Now you have the opportunity to adjust the alignment of the frame. A standard alignment is with the frame centered on each of the mounting points. If you know that your ankles tend to roll or give, adjust frame the same direction:
- Pronation (ankles rolling inward) - adjust the front of the frame towards the big toe.
- Supination (ankles rolling outward) - adjust the front of the frame towards the pinky toe.
Once you're satisfied with your alignment, tighten the mounting bolts as tight as you can get them by hand. Do not use power tools or apply other forms of leverage.
If you haven't already, repeat this process for your second boot before moving forward.
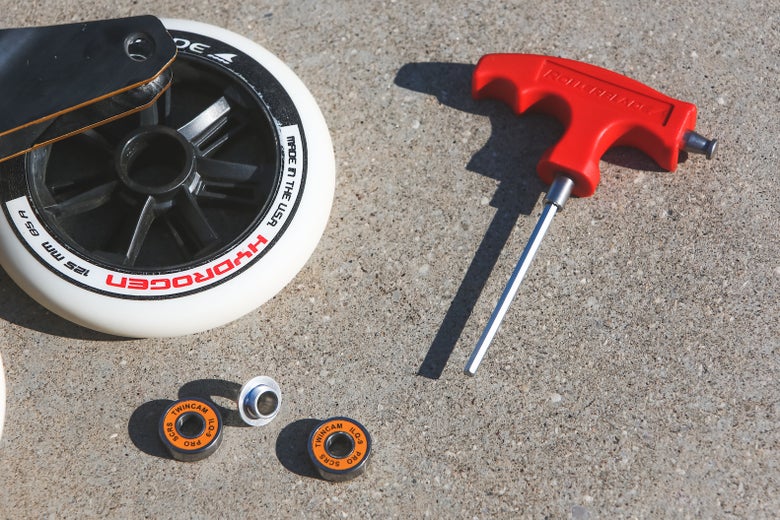
Step 2 - Installing the Bearings
Now you need your wheels, bearings, bearing spacer and your aftermarket skate tool if you have one.
Each wheel requires two bearings and one bearing spacer.
Looking at your bearings, you should see that at least one of the side is "shielded," meaning you can't see into guts of the bearing where the ball bearings are. This side should face out when installing them into your wheels.
Install the first bearing by lining it up with the hub of your wheel and applying pressure using your thumbs, skate tool or by pressing with the wheel face down on a flat surface until the bearing is flush with the hub of the wheel.
Insert the bearing spacer into the middle of the wheel (behind the bearing you just inserted), line up the second bearing and install it just like the first one. Be mindful of the bearing spacer, making sure it does not turn sideways in the hub. Once properly installed, both bearings should be flush with the wheel and your axle should be able to slide smoothly through the center. If your axle feels tight, adjust the bearing spacer on the inside of the wheel with your skate tool until it is centered.
Repeat this process for all of your wheels.
Step 3 - Attaching the Wheels
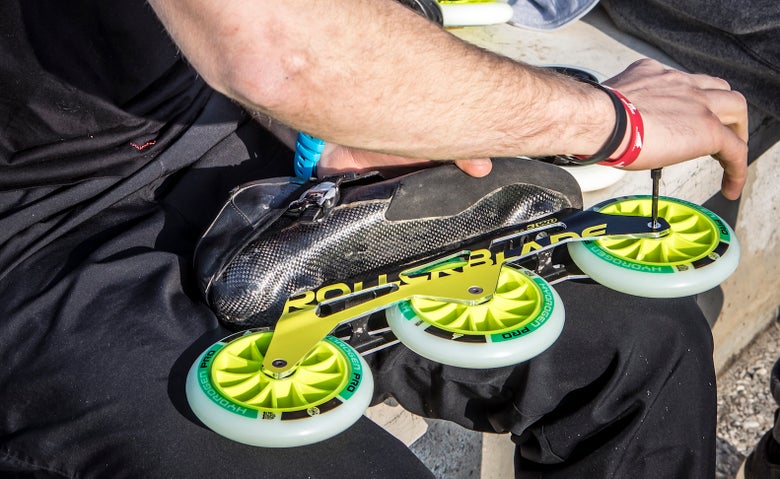
Using the axles and your skate tool, you can install the wheels one at a time, applying thread lock as you go.
Place the wheel in the frame, lining up the hole in the middle of the bearing with the hole on the frame. Slide the axle through the hole and tighten it using your skate tool. Axles should be tightened enough to eliminate play (side-to-side wiggle between the wheel and the frame) without reducing the spin of the wheel.
If feeling or hearing the bearings scraping the frames as you slide them in, that to be expected. As long as they spin freely once in place, there is no issue!
If you're having difficulty sliding the axle through the center of the wheel when in the frame, you are either attempting to screw the axle in from the wrong side, or the bearing spacer is in the way. If the bearing spacer is in the way, use your skate tool to adjust the bearing spacer out of the way.
Repeat until all of your wheels are securely installed. Use your hand to give the wheels a test spin! They should spin freely.
You Did It!
Grab your gear! It’s time to skate! Take it slow and feel for any adjustment needed to the frame alignment. Even if you used thread locker, be sure to check that your axles and mounting bolts are secure before every skate.